Remember last week Proulx Brothers asked me to try their Eco Core 3 product for mounting photos?
Well, I got spare time this morning and gave it a try. Now, I was never good at cut-and-paste and I get very squirrelly when doing precision work with fine elements… but this turned out quite well!
Preparation
I trimmed the print to be mounted on the eco friendly core backboard. It took a few slices to get the print just right. I then peeled the paper off the pre glued backboard and took a few deep breaths. (Photos below)
Mounting
The hardest part was lining the print up with the backboard – ’cause once it is stuck, it’s stuck! I took some care and managed to get it lined up pretty well – I was less than a milimetre off in one direction.
Suggestions if you try…
When I do it again I will trim the print to a greater than needed size and trim excess with a sharp knife after it is glued. Doing all this on a backlit lightbox will help, too.
So, it went well – and I would do it again for photos where I need a quick, easy and effective mounting.
Thanks Proulx.
See the steps below – shot quickly, hand-held.
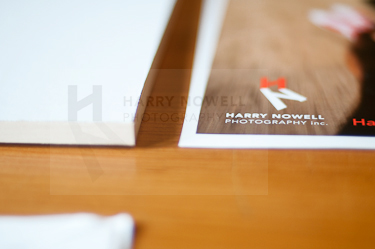 Step 1 – Trim the print
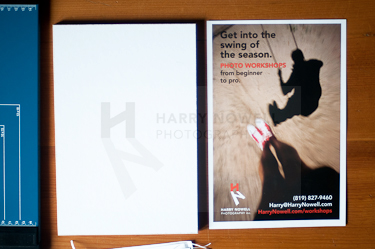
Step 2 - Size the print
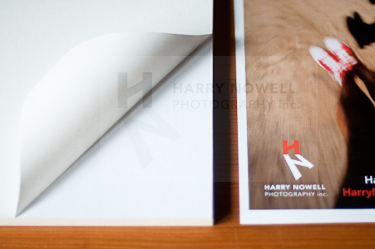
Step 3 - Peel the backing
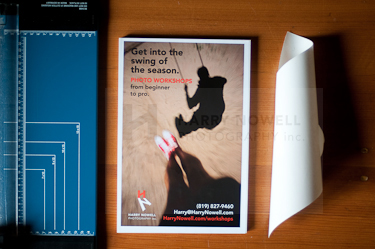
Step 4 - Line up and stick
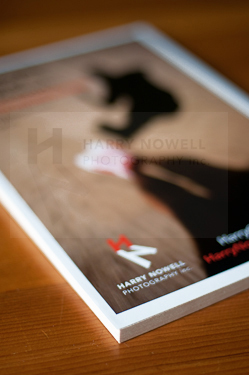
Step 5 - Enjoy!
